
Applies To
Applies to: Classic V3, Classic V3X
Step-by-Step Instructions
Step 1: Switch to the Correct HDMI Input
-
Make sure you are on the HDMI input where you want to change the EDID setting
-
Example: If you want to change settings for HDMI 1, switch to HDMI 1 first
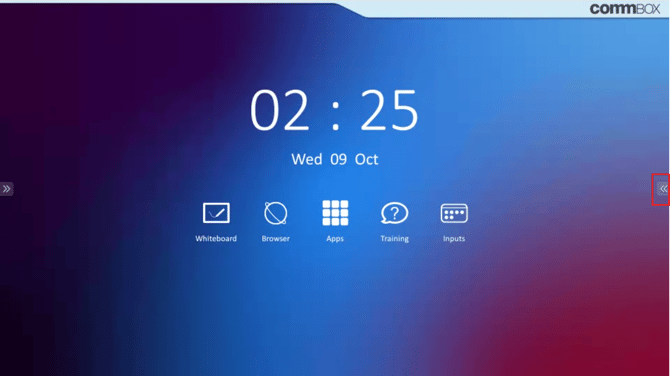
Step 2: Open the Side Menu
-
Tap the arrow icon on the side of the screen to open the Side Menu
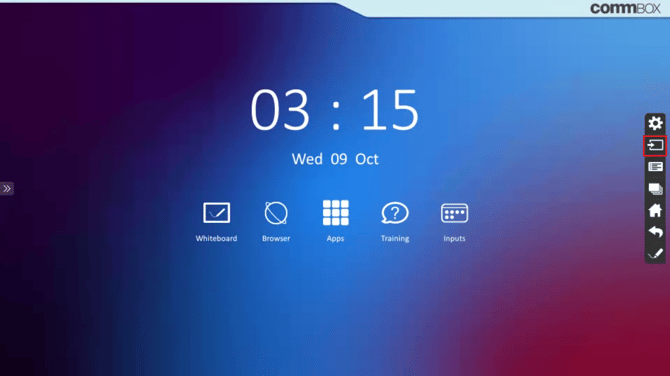
Step 3: Select the Inputs Menu
-
In the Side Menu, tap the Inputs icon
-
This opens a list of available input sources
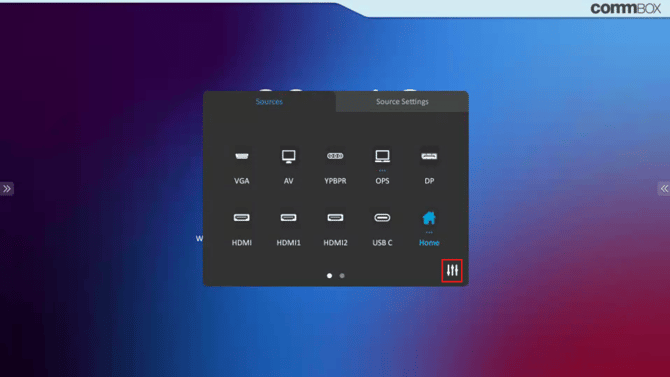
Step 4: Open Input Settings
-
In the Inputs Menu, tap the Slider icon in the bottom right corner
-
This opens the Input Settings panel
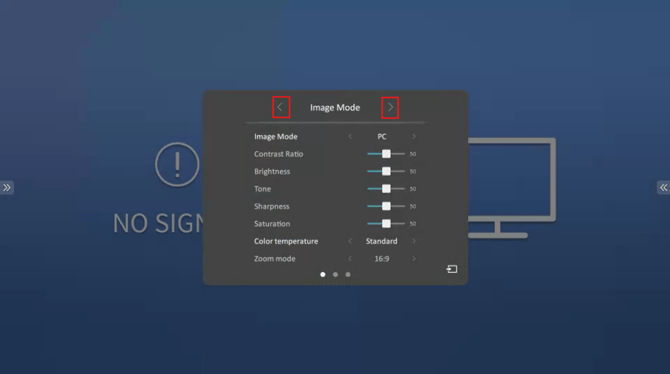
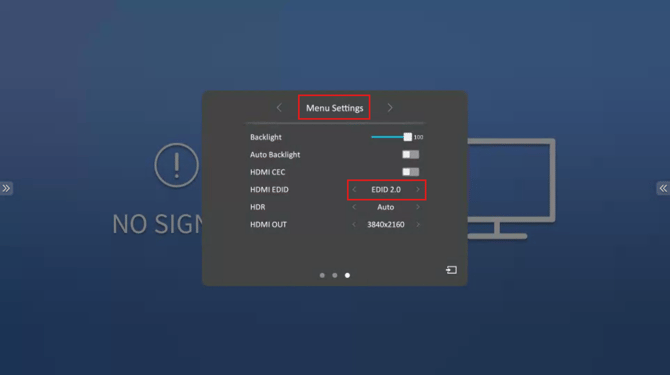
Step 5: Navigate to Menu Settings
-
Use the left and right arrows at the top of the screen (beside "Image Mode")
-
Scroll until you reach the Menu Settings tab
Step 6: Change the EDID Version
-
In Menu Settings, locate the HDMI EDID setting
-
Change it to EDID 1.4 or EDID 2.0, depending on your compatibility needs
💡 Tip: Use EDID 1.4 if you’re connecting older HDMI devices that don’t support newer standards.
Troubleshooting / What to Do If It Doesn’t Work
-
Make sure you're on the correct HDMI input before accessing the EDID setting
-
If the EDID setting doesn’t appear, check your firmware version